Adding a Table of Contents for PDF Output
In PDF output, as in online output, a table of contents file determines the topics that appear in the content you generate. However, it does not appear as an actual table of contents within a PDF. You must add a table of contents proxy within a topic separate from the table of contents file in the Project Organizer.
- Create a new topic for the table of contents proxy. For more information on creating topics, see "Creating a New Topic.”
- Replace the text in the header with “Table of Contents.”
- Delete all text below the header.
- Place the cursor below the header.
- Select the Insert tab to open the Insert ribbon.
- Click the Proxy button on the far right of the Insert ribbon. The Proxy drop-down menu appears.
- Click Proxy in the Proxy drop-down menu. Another drop-down menu appears.
- Select Insert TOC Proxy. The TOC Proxy window appears.
- Select any stylesheet class you want to apply to the table of contents in the drop-down menu next to “Stylesheet class.”
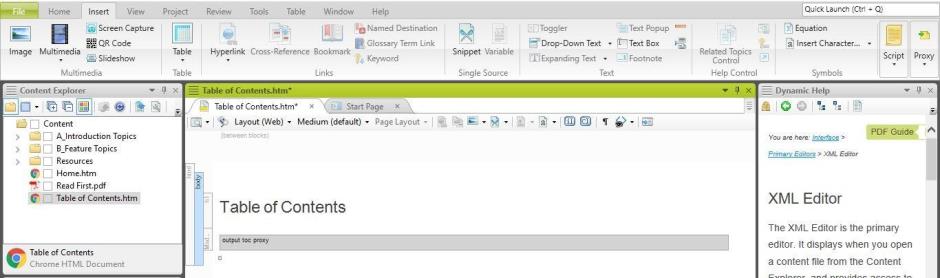
- Click OK. A rectangle labeled “output toc proxy” appears in the XML Editor. The Master TOC selected in the target you use to generate output replaces this in the final output.
- Select the table of contents file you want to use in the TOCs folder in the Project Organizer. Review the file to ensure it includes the correct topics in the order you want them to appear in the output.
- Note: Remember to include the Table of Contents topic you just created.